News, User manual
INSTRUCTIONS FOR USING THE ROCKWELL HARDNESS TESTER (DIAL)
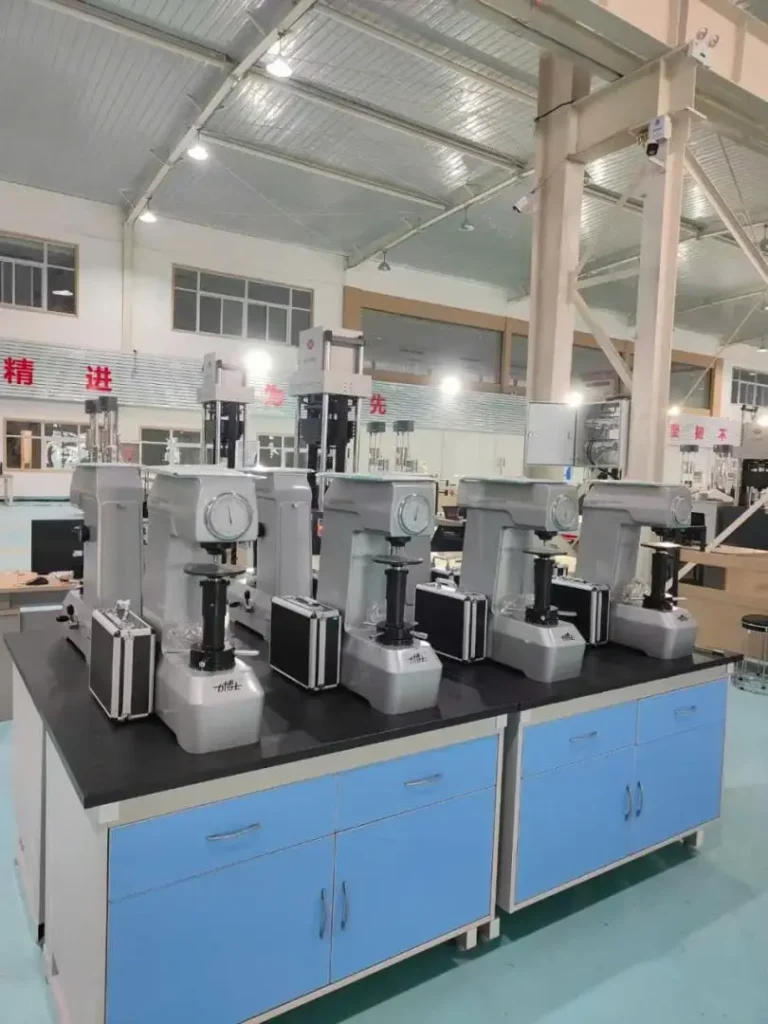
The purely mechanical Rockwell hardness tester is a classic device in the metallurgical and precision machining industries due to its high durability and stability. To ensure accurate measurement results and extend the lifespan of the equipment, Maxlab Equipment Company would like to provide our customers with a detailed operating manual and important maintenance notes.
1. Preparation Before Measurement
Before starting, the technician needs to check the following factors to avoid errors:
Indenter Selection:
Diamond indenter (120° cone) for HRC and HRA scales.
Steel ball indenter (1/16 inch) for HRB scale.
Sample Inspection: The sample surface must be flat, clean of rust and grease. The sample thickness must be at least 10 times the depth of the indentation.
Machine Placement: The machine must be placed on a sturdy, vibration-free table.
2. Standard 5-Step Operating Procedure
For analog gauge instruments, the procedure is as follows:
Step 1: Place the sample
Rotate the lifting shaft to lower the sample table, placing the sample neatly under the indenter.
Step 2: Apply the pre-load force
Rotate the steering wheel to slowly raise the sample table until the indenter touches the sample. Continue rotating until the small needle on the dial points to the red mark (set point) and the large needle rotates 3 times. Stop when the large needle points vertically to the zero position (mark C or B depending on the scale).
Step 3: Reset the dial
If the large needle does not point to zero, rotate the outer ring of the dial so that the zero mark aligns with the large needle.
Step 4: Apply the total force
Flip the operating lever (usually on the side of the instrument) to automatically apply the main force. This process is purely mechanical, using an oil damping system. Wait until the needle stops completely.
Step 5: Reading the result
Return the lever to its original position to release the primary force (only the primary force remains). Read the hardness value directly on the dial:
Black mark: For HRC and HRA scales (diamond tip).
Red mark: For HRB scale (steel ball tip).
3. Technical services at Maxlab
Mechanical hardness testers are durable, but after a period of use, they may encounter problems such as: oil damping deposits, misaligned levers, or worn indenters. Maxlab provides comprehensive solutions to ensure your equipment always operates at its best:
In-depth hardness tester repair
Maxlab repairs common problems:
The needle is stuck or the readings are uneven.
The force system is unstable, and the lever is stiff.
Genuine replacement parts: diamond indenters, steel balls, gauges.
Rockwell Hardness Tester Calibration
To ensure legally and technically valid measurement results, the machine needs to be calibrated periodically. Maxlab performs calibration using internationally certified Hardness Test Blocks, giving customers absolute peace of mind during product quality assessments.
Dedicated After-Sales Support
When purchasing equipment or using services at Maxlab, you will receive:
Free technical training for operating staff at your factory.
Consultation on selecting the appropriate measurement range (HRA, HRB, HRC) for the actual material.
Regular checks and calibration reminders to ensure the machine is always in optimal condition.
4. Important Note to Protect the Machine
Do not turn the handle to raise the sample too forcefully when the indenter has touched the sample (to avoid breaking the diamond tip).
When not in use, lower the sample stage and cover the machine with a dustproof tarp.
Do not attempt to disassemble the internal lever system without professional expertise.
Need further advice on usage or technical services?
Contact Maxlab Equipment Company immediately for support from leading experts.
Hotline: 0986.666.914
Website: maxlab-jsc.com
Address: Ha Dong, Hanoi
Maxlab – Partnering with your business for accuracy!


 Tiếng Việt

